Deployment Overview
Phone deployment routes live PSTN calls through your tested agent using a Bring Your Own Carrier (BYOC) approach. You import your existing phone numbers and connect them to your carrier via SIP trunks. Setup process:- Configure your SIP trunk with carrier credentials
- Import your phone numbers and link them to the trunk
- Assign agents to handle inbound calls
- Test the connection
Inbound Phone Deployment
Step 1: Configure SIP Trunk
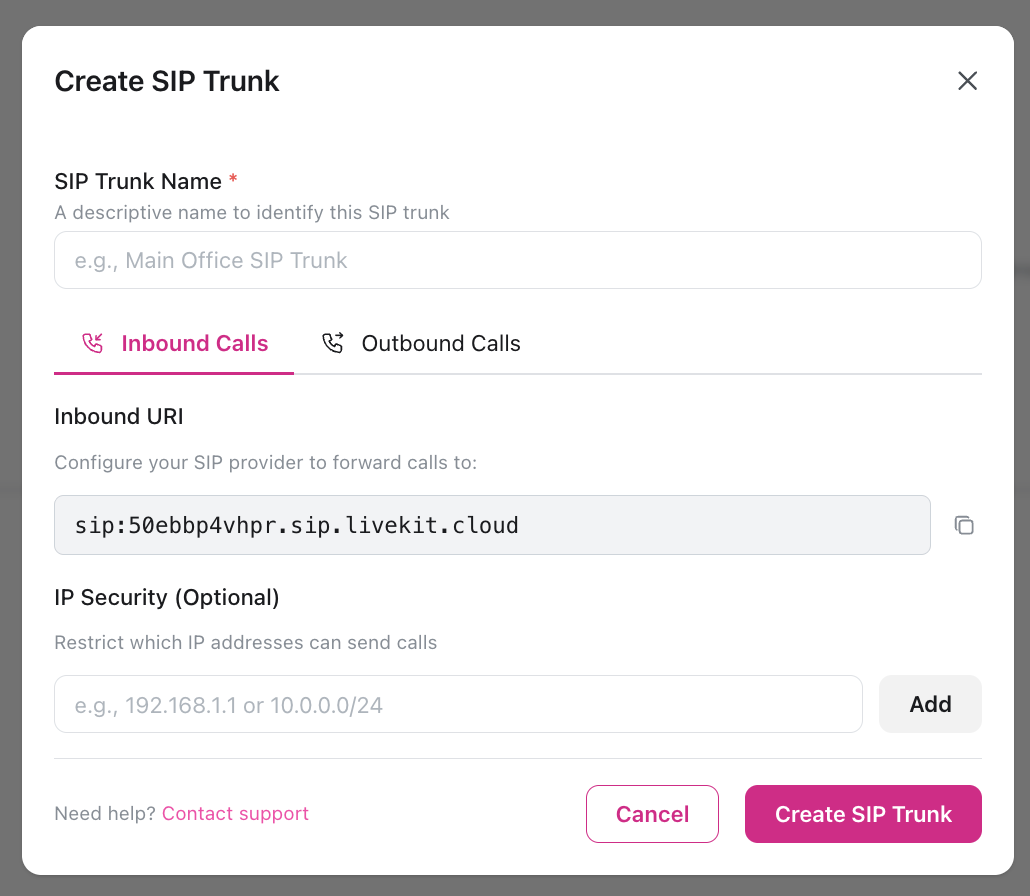
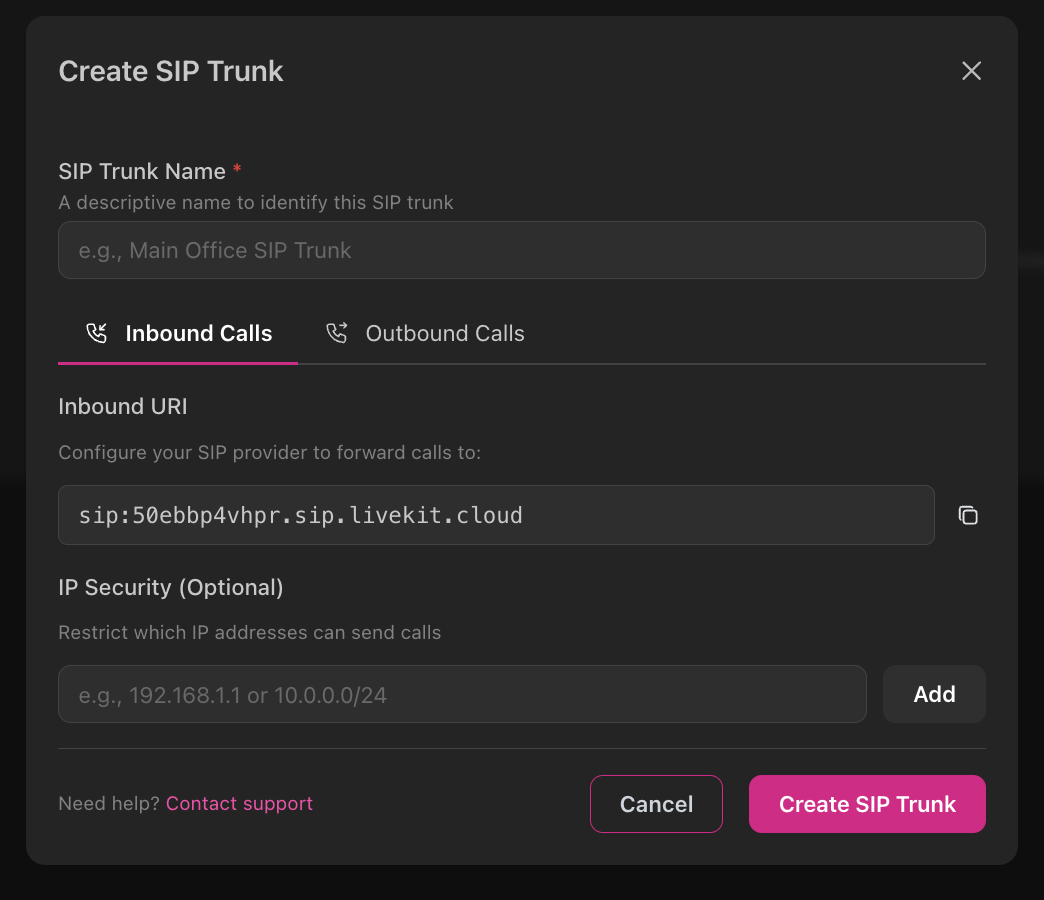
SIP trunk configuration
SIP trunk configuration
- Navigate to Telephony → SIP Trunks and click + Add Trunk
- Configure your carrier to send calls to itellicoAI’s SIP endpoint:
- Destination SIP URI:
sip:50ebbp4vhpr.sip.livekit.cloud - Port: 5060 (UDP) or 5061 (TLS)
- Codec: Opus, PCMU, or PCMA
- Destination SIP URI:
- In itellicoAI dashboard, create a trunk with:
- Trunk Name: A descriptive name for your carrier
- Allowed IPs (optional): Restrict to your carrier’s IP ranges for security
- Assign Agent: Select which agent handles calls from this trunk
- Test: Make a test call through your carrier to verify routing
Carrier compatibility
Carrier compatibility
Tested carriers include:
- Twilio Elastic SIP Trunking
- Vonage (formerly Nexmo)
- Bandwidth
- Telnyx
- Most standard SIP providers
- Support for Opus or PCMU/PCMA codecs
- DTMF via RFC 2833 (for keypad input)
- Reinvite support for transfers
Step 2: Import Phone Numbers
Once your SIP trunk is configured, import your existing phone numbers:Configure number details
Provide:
- Phone Number: E.164 format (e.g.,
+14155552671) - Friendly Name: Optional label (e.g., “Support Line”)
- SIP Trunk: Select the trunk you configured in Step 1
- Inbound Agent: Optionally assign an agent now (or do it later)
Step 3: Assign Agents to Numbers
Assign or update agent
Use the inline agent picker to select which agent should answer calls to this number
Configure carrier forwarding and test
Configure your carrier to forward calls to the Inbound URI shown on your SIP trunk (in Telephony → SIP Trunks). Once carrier forwarding is active, call the number from your phone to test. The agent should answer using the greeting you configured. Review call logs in Conversations to verify proper call flow.
Troubleshooting call routing
Troubleshooting call routing
If calls aren’t reaching your agent:
- Verify SIP URI: Ensure your carrier is sending calls to
sip:50ebbp4vhpr.sip.livekit.cloud - Check codec support: Verify your carrier supports Opus, PCMU, or PCMA
- Firewall rules: Ensure your carrier can reach the LiveKit SIP endpoint
- Logs: Check Conversations → Logs or your carrier portal for SIP error codes
404 Not Found: Incorrect SIP URI configuration488 Not Acceptable Here: Codec mismatch (enable Opus/PCMU/PCMA on carrier)503 Service Unavailable: Temporary connectivity issue
Outbound Phone Deployment
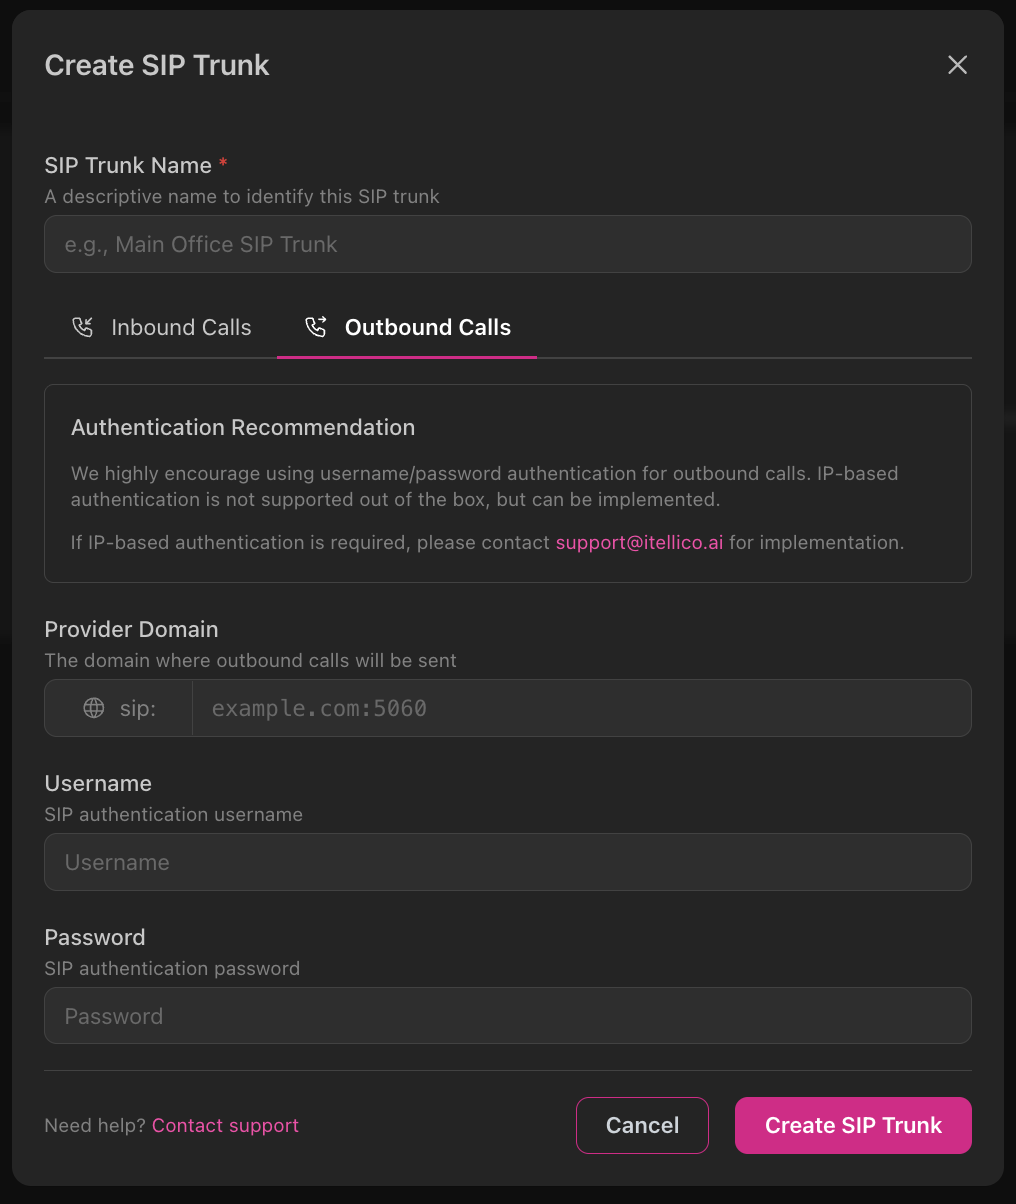
Configure Outbound SIP Trunk
For outbound calling through your own carrier (campaigns, proactive calls), configure the outbound SIP trunk with authentication: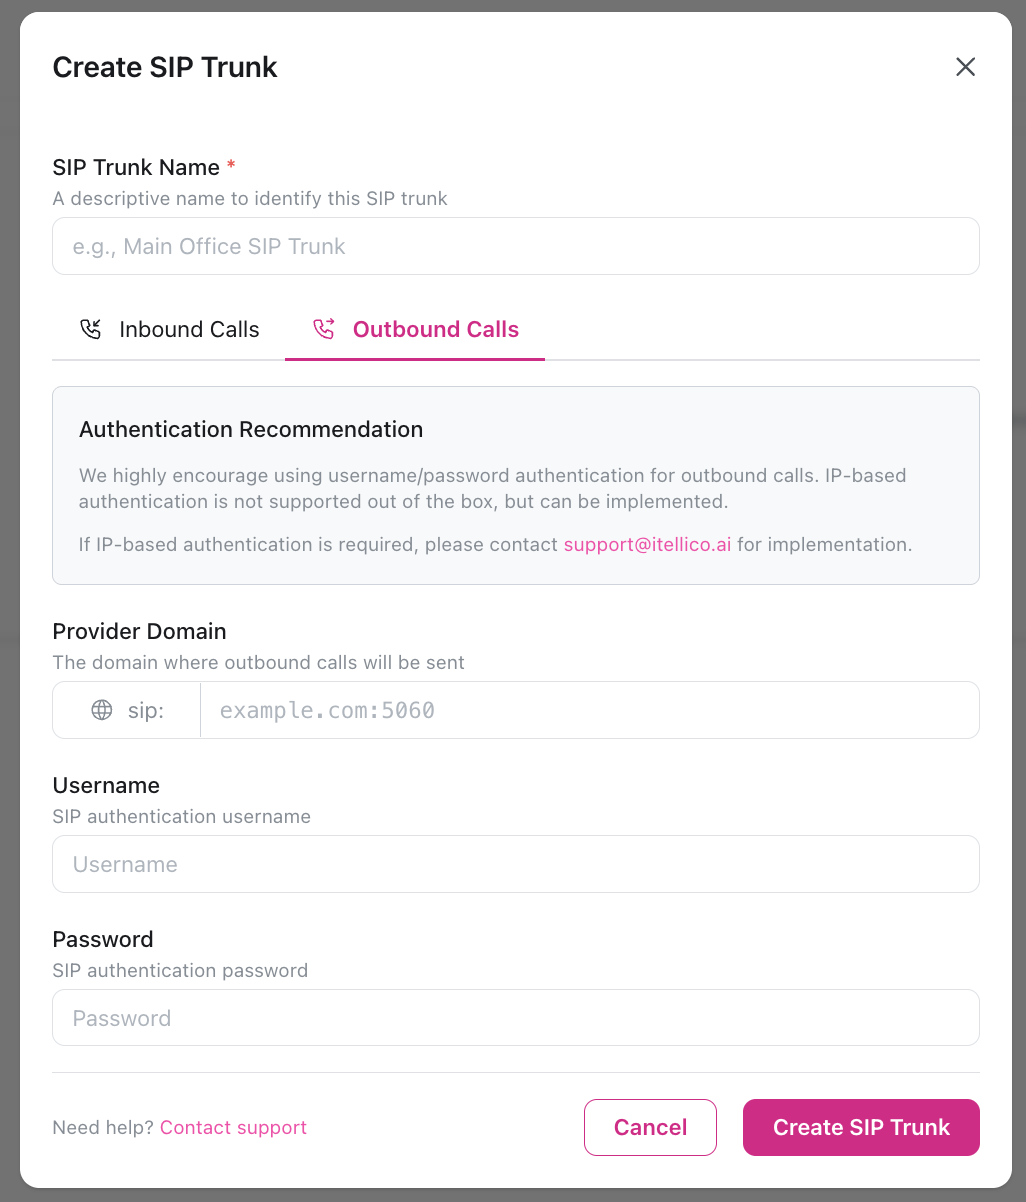
Outbound SIP configuration
Outbound SIP configuration
- Navigate to Telephony → SIP Trunks and click + Add Trunk
- Switch to the Outbound Calls tab
- Configure authentication for your carrier:
- Provider Domain: Your carrier’s SIP domain (e.g.,
sip.example.com:5060) - Username: SIP authentication username from your carrier
- Password: SIP authentication password from your carrier
- Provider Domain: Your carrier’s SIP domain (e.g.,
- Save the trunk configuration
- Assign to campaigns: Use this trunk when creating outbound campaigns
We highly recommend using username/password authentication for outbound calls. IP-based authentication is not supported out of the box but can be implemented. Contact support if needed.
Outbound calling use cases
Outbound calling use cases
Automated Campaigns:
- Sales outreach and lead qualification
- Appointment reminders
- Payment reminders
- Survey calls
- Order status updates
- Delivery notifications
- Service alerts
- Follow-up calls